ContextCLI
AI powered CLI project

Enthusiastically exploring the world of DevOps
GitHub: https://github.com/ajinkyak423/ContextCli/tree/main
Introduction:
Hello and welcome to my blog post on ContextCLI, where I'll be showing you how to create an AI-powered command-line interface! With Node.js and some popular libraries like Commander and Axios, we'll be able to streamline your workflow and impress your friends with an AI-powered command-line interface.
If you're new to these technologies, don't worry - I've got you covered. I'll guide you through the process of setting up Git, creating a .gitignore file, handling your API keys, and using Commander to create a CLI tool in Node.js. I'll also show you how to make API calls using Axios and create an AI.js file for all your API calls. Furthermore, we will make ContextCLI globally available on your local system, allowing you to use this feature from any directory on your machine. In this particular project, we are using OpenAi API for powering our local CLI.
So, whether you're a developer looking to streamline your workflow or just someone who wants to add a touch of AI to your command-line experience, this post is for you! Follow along and let's take your command-line experience to the next level with ContextCLI.
Motivation:
The motivation behind building ContextCLI is to help developers streamline their workflow and add a touch of AI to their command-line experience. Many newbies face a hard time working with CLI and figuring out the right commands. With ContextCLI, this becomes easier as it provides an AI-powered command-line interface. Follow along with this post and learn how to create your own AI-powered CLI tool using Node.js and popular libraries like Commander and Axios.
Issues with OpenAi API:
Hey there! If you're interested in following along with this project, you'll need an OpenAI API key. Don't worry, it's easy to obtain one by following the instructions in this document. However, I must warn you that there are some issues with the OpenAI API that I was able to address after some extensive googling (chtGPTing!!). Your OpenAI account is initially credited with $5 (previously $18), and this credit only lasts for 3 months. Additionally, this credit is only available for one account associated with one phone number. So, if you have multiple accounts with the same phone number, only the first account will receive the credit. Don't forget to check your Free trial usage score here to keep track of your usage.
Getting started:
use this GitHub repository for reference and code. I’m still working on this project and looking forward to collaborating with great minds like you.
Adding npm:
(assuming that you have node installed on your machine)
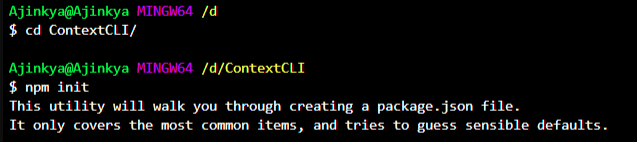
I suggest creating a project directory using the command:
mkdir <folder_name>
Initialize npm in this folder using:
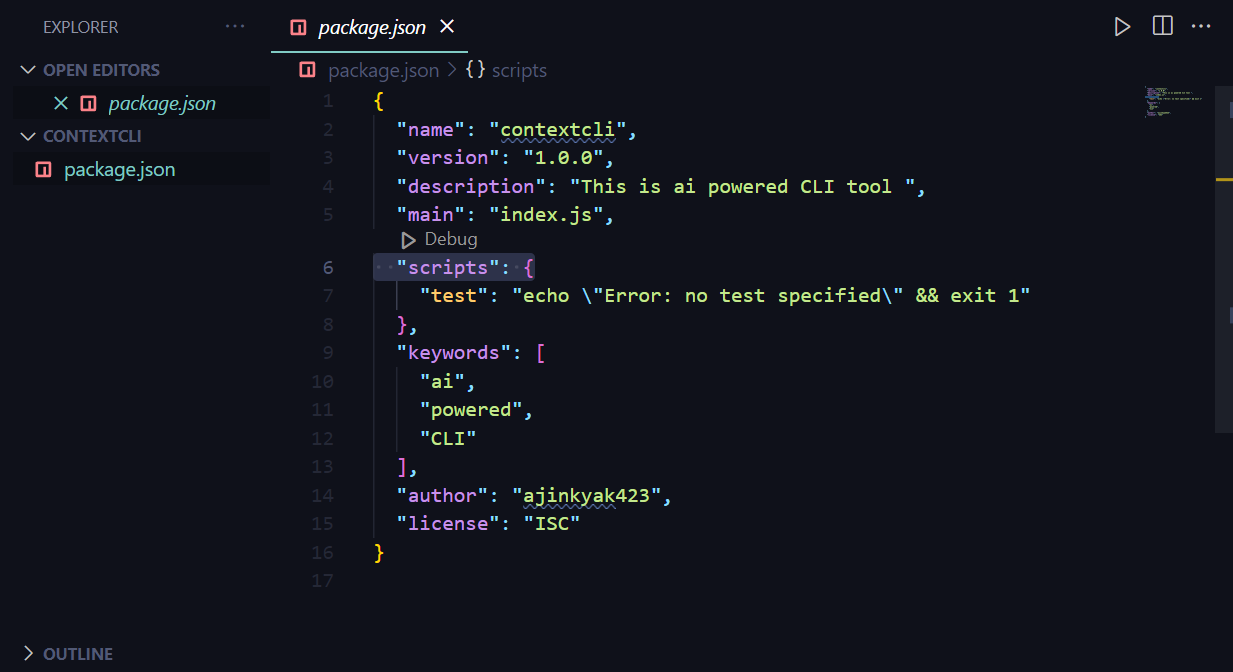
npm init
Open this folder in vs code and notice there is a file called package.json.
Adding git:
- add it to the folder
git init

add .gitignore file
$ touch .gitignore- in this file add node_modules as we don't want to push this on GitHub as all our packages will live here.
Creating CLI tool in node
create cli.js file
This can be done using
yarks
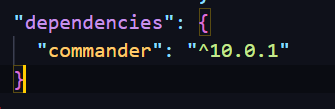
commander (we are using this)

observe the folder has the file package-lock.json added and in package.json we have a new dependency of commander
code explanation:
(this is the explanation of code in a file called cli.js in this repository)
first import all the required libraries and dependencies.
In this part of the code we are using try and catch approach for making API calls to the OpenAi using completion the function made in file ai.js in the lib folder of the mentioned repository.
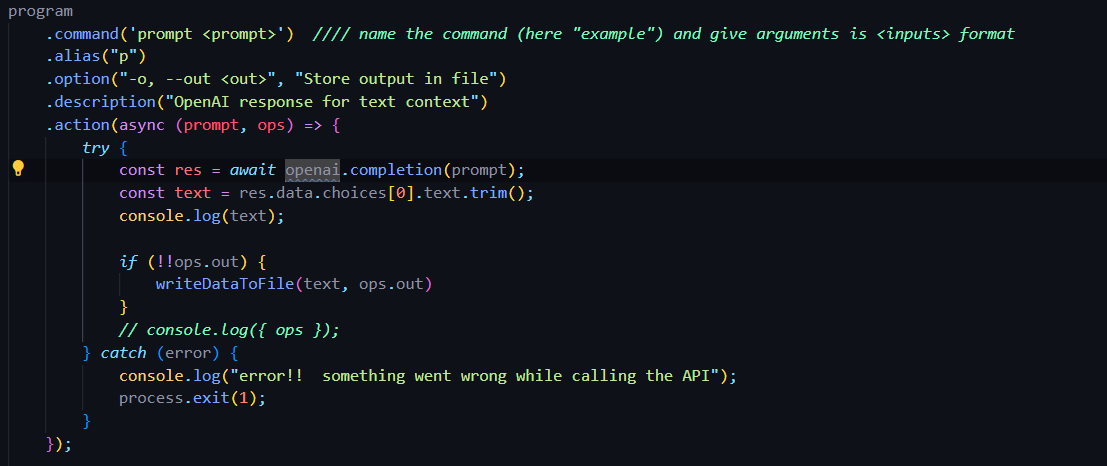

comments explain everything required
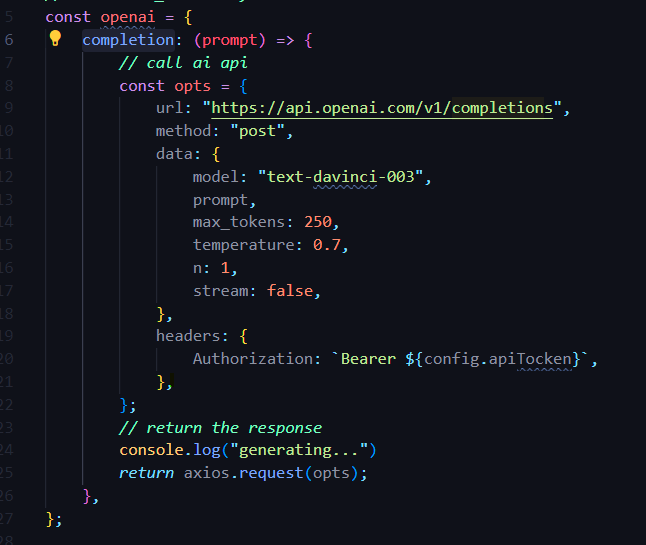
(this is the explanation of code in a file called ai.js)
In this part of the code we are making API call to
url: "[<https://api.openai.com/v1/completions>]
is done using our API token.
In the end, we expose our module as openai
Additional feature :
the project also includes the functionality of saving generated commands to the output files for future use.
this code is available in a file called writeDataToFile in the lib folder.
This feature is implemented using the nodes' native fs The module which is used to handle file systems
This can be done using -o flag after the prompt and followed by the file name with the extension
For example :
concli p "git commands" -o commands.txt
Working with an API key:
We all know that it is essential to hide the API key before making our project public.
we can hide our API key using the traditional .env file approach
create a file named .env and add your API key in it as:
API_TOKEN=<your apikey>
save your .env file and add this file to the .gitignore file
notice that this file in vs code is gray in color which means this file is to be ignored while making the project public.
In order to make it clear to other users that this particular project requires API key .env.example file is made which simply contains
API_TOKEN=
not actual API key
with this .env.example file, other developers can understand that this project uses a .env file.
for learning more about working with API_keys refer to this blog
Making concli command available globally in the machine:
This is the part where I had to do lots of googling to figure out a working solution.
In order to use concli command available regardless of the folder you are in following steps need to be followed:
step 1: In the cli.js file, add the Shebang line this tells the system that this is a node exe file
#! /usr/bin/env node
make sure you are adding this line to the very top of the file or else it won't work.
step 2: In the package.json file add bin this is what is called to execute the program.
"bin":{
    "concli": "./cli.js"
  }
step 3: Make cli.js an executable file using the command:
chmod +x cli.js
to check it worked run the command:
ll

step 4: Do the npm link in the folder where the cli.js file is present. This makes a global sim link.
npm link
step 5: (not required if code from the mentioned repo is referenced) Make sure you have not hardcoded the path to your env file and have used something like:
require("dotenv").config({ path: __dirname + "/.env" });
And that's it!! You can now use concli the command on your machine.
Using ContextCLI:
To use ContextCLI, simply open your terminal and type:
concli p "your query for ai" -o output file name (with extention)
conclusion:
In conclusion, we've learned how to create an AI-powered command-line interface using Node.js and popular libraries like Commander and Axios. With ContextCLI, we can streamline our workflow and add a touch of AI to our command-line experience. We've also addressed some issues with the OpenAI API and learned how to keep track of our usage to avoid any unexpected charges.
This project is still a work in progress, and we're open to collaboration with fellow developers who are interested in contributing to this project. By following this post, you now have the knowledge to create your own AI-powered CLI tool and take your command-line experience to the next level.
Thank you for reading, and I hope you found this post helpful. Feel free to reach out to us for any questions or feedback.
#WeMakeDevs
This blog was submitted for the 'Artificial intelligence ' track for the Hashnode and WeMakeDevs/CommunityClassroom blogging challenge. Thanks for reading! ❤️


